TOKYO
Dahil sa pagsara ng mga school sa Japan hinihikayat ng Ministry of Agriculture and Fisheries na uminom ng mas madaming gatas upang matulungan ang mga dairy farmers na usually ay nagpo-provide ng gatas sa mga schools at kasalukuyang namomoroblema sa excess na supply nito.
Upang makatulong, buod sa paginom ng gatas at paglagay sa mga pagkain at cereals, maaari ding gumawa ng homemade cheese.
Narito ang paraan:
Ingredients (makes 300 grams of cheese)
Milk – 1 liter (4.2 cups)
Lemon – 2 large (3 if small)
Salt – 1 tablespoon
Additional ingredients
Olive oil – 2 cups (400 milliliters)
Black pepper, herbs, garlic, etc.
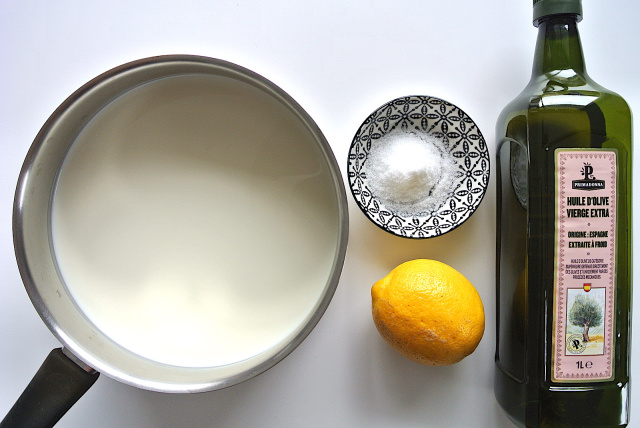
Items to prepare
Bowl
Colander
Gauze or a tea towel
Storage container
Storage jar
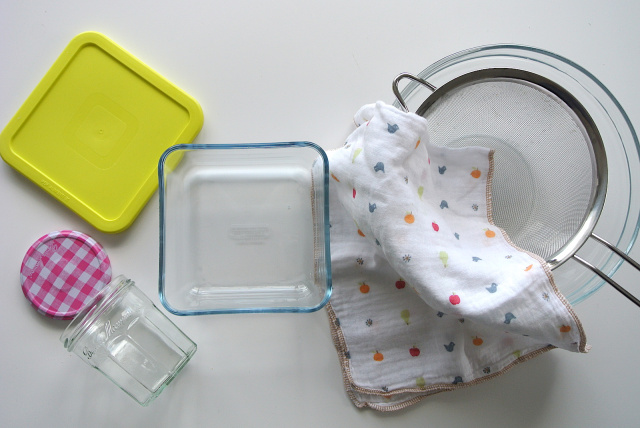
Method
1. Put milk and salt into a pot and warm it gently until it reaches the same temperature as human skin.
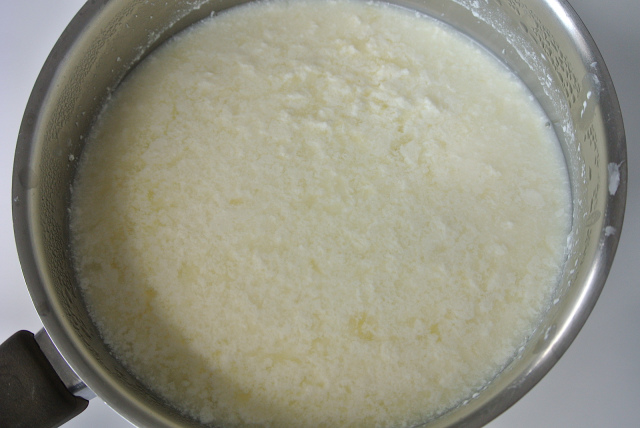
2. While still on low heat, add the juice from one squeezed lemon and mix gently. At this point the acid from the lemon should cause the liquid to coagulate slightly, forming small clumps. If the mix doesn’t coagulate, add more juice from the second lemon. Once you see clumps begin to form in the mix, turn off the heat and leave it as it is on the stove.
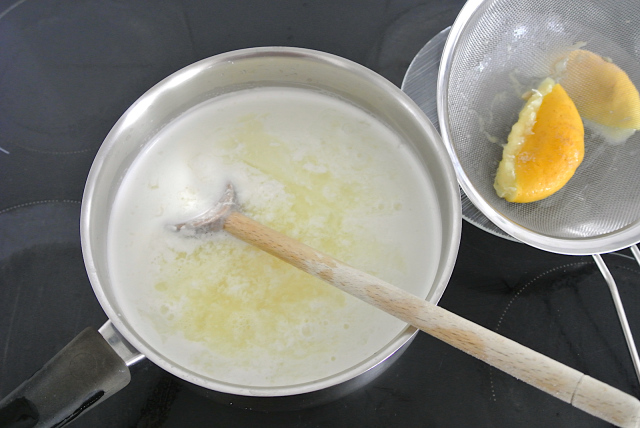
Pro tip: lemons are easier to squeeze when heated.
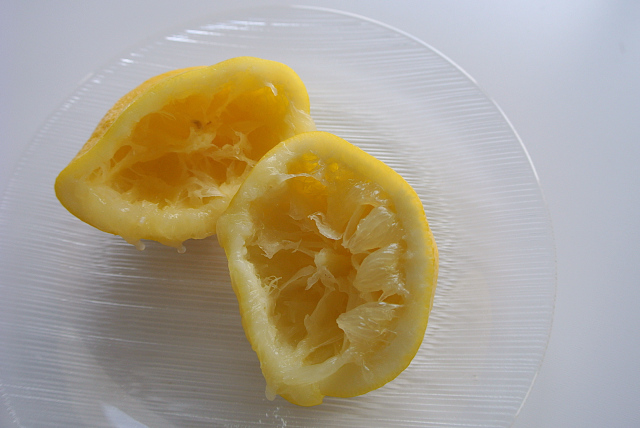
If you’re having trouble squeezing lemon juice out of the lemons, cut the fruit in half, place on a plate and pop it into the microwave for about one minute at 600 watts.
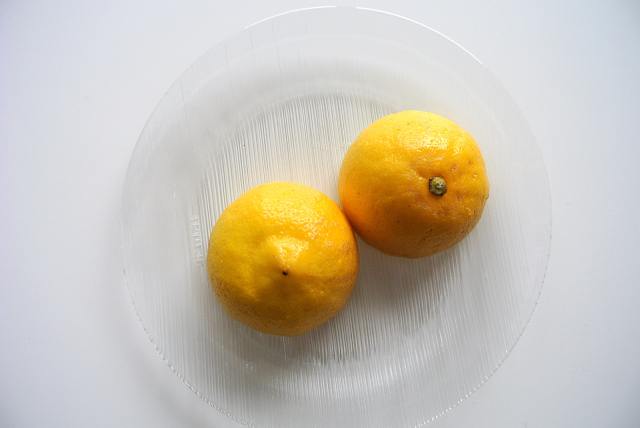
▼ The heat will help soften the lemons, allowing you to extract the most juice from them.
3. Leave the mixture in the pot without heat for up to two hours to increase the number of cheese clumps in the mix.
- Place a gauze-lined colander in a bowl and pour the mixture onto the gauze. Squeeze to drain immediately or leave as it is to drain naturally for about half a day in the refrigerator.
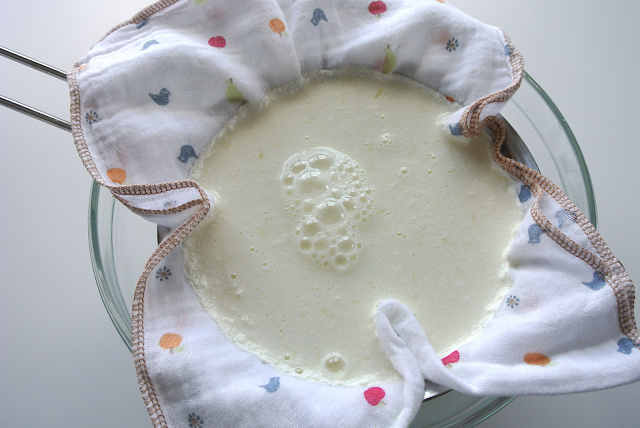
Pro tip: The liquid that drains from the mixture is whey, which can be used in a variety of applications, from soaking grains to baking. It can even be used to make ricotta (which literally means “twice cooked”).
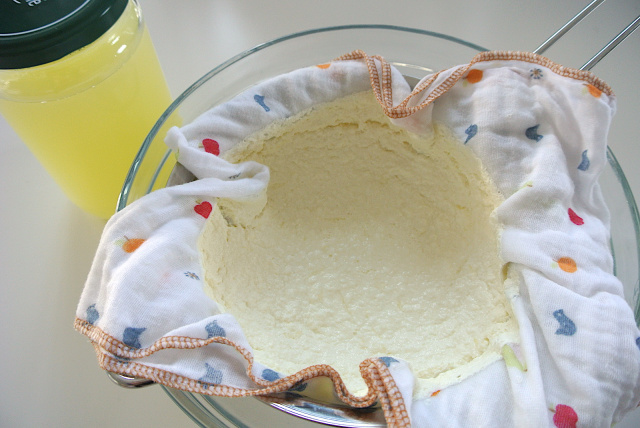
4. After draining, put the mix, with the gauze, into a container and refrigerate for half-a-day to a day to solidify. The mixture will become more compact if you leave it in the fridge overnight.
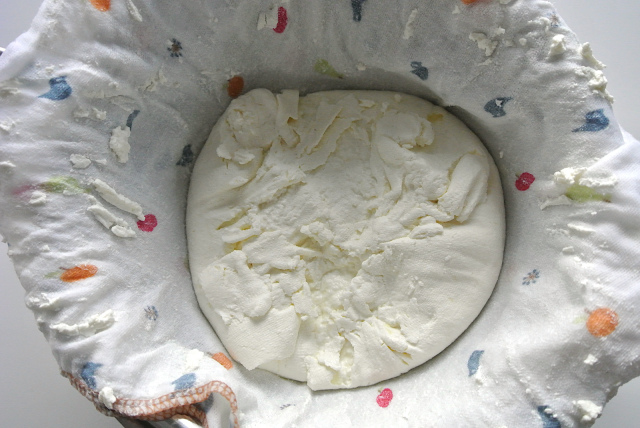
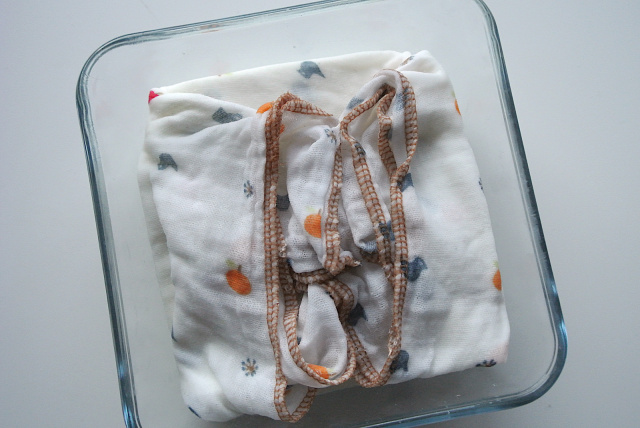
5. Remove the cheese from the refrigerator and cut it into 1-1.5 centimeter cubes.
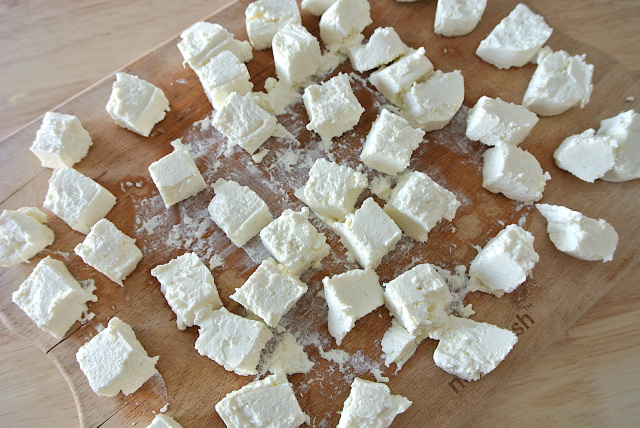
At this point, you can either enjoy the cheese as it is or store it in the fridge and consume it within a week. To give it more flavor and a slightly longer shelf life, you can store it in olive oil. That’s what we’ve done here, by simply pouring olive oil into a couple of jars that have been sterilized with boiling water. Gently immerse the cheese pieces in the olive oil using your fingers or a pair of chopsticks. If you like, you can add herbs like rosemary, thyme, bay leaves and even garlic to add more flavor to the cheese.
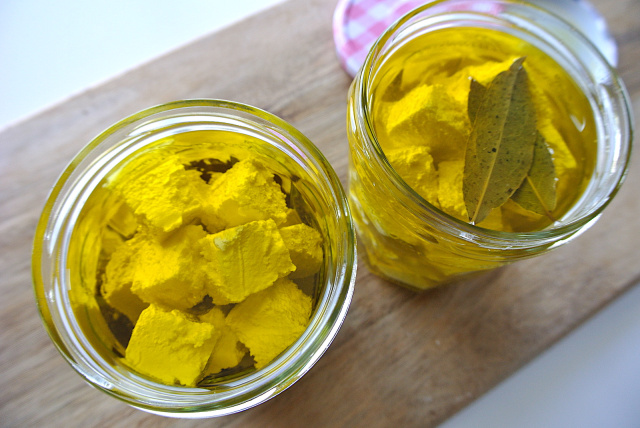
Once stored in olive oil, the cheese will last for about two weeks. The fresh cheese has a slightly salty taste and soft, melty texture, and is particularly tasty when served with some of the olive oil it’s stored in and a sprinkling of cracked black pepper.



Join the Conversation